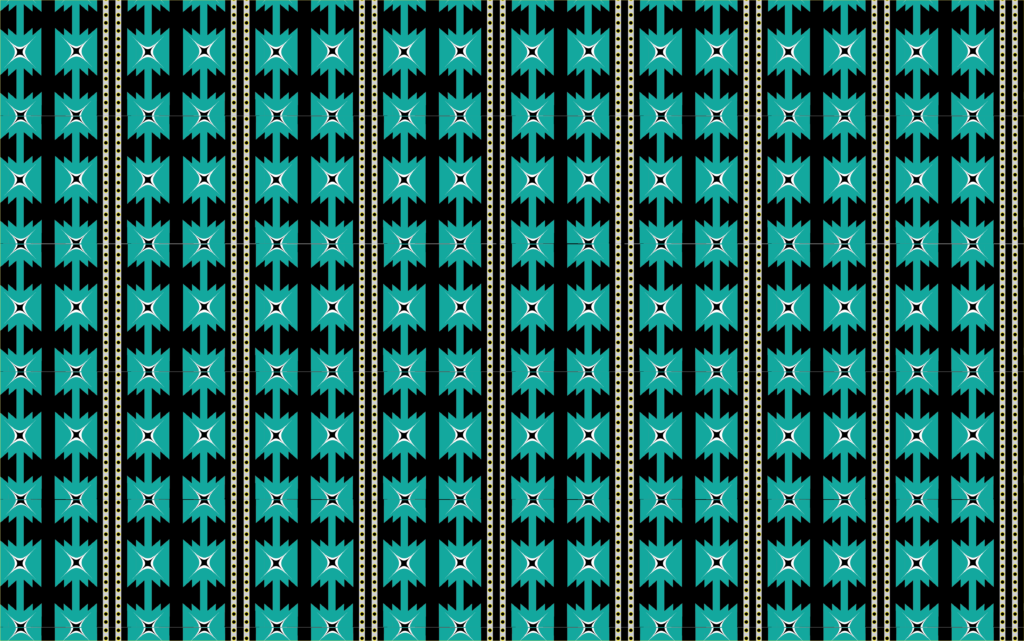
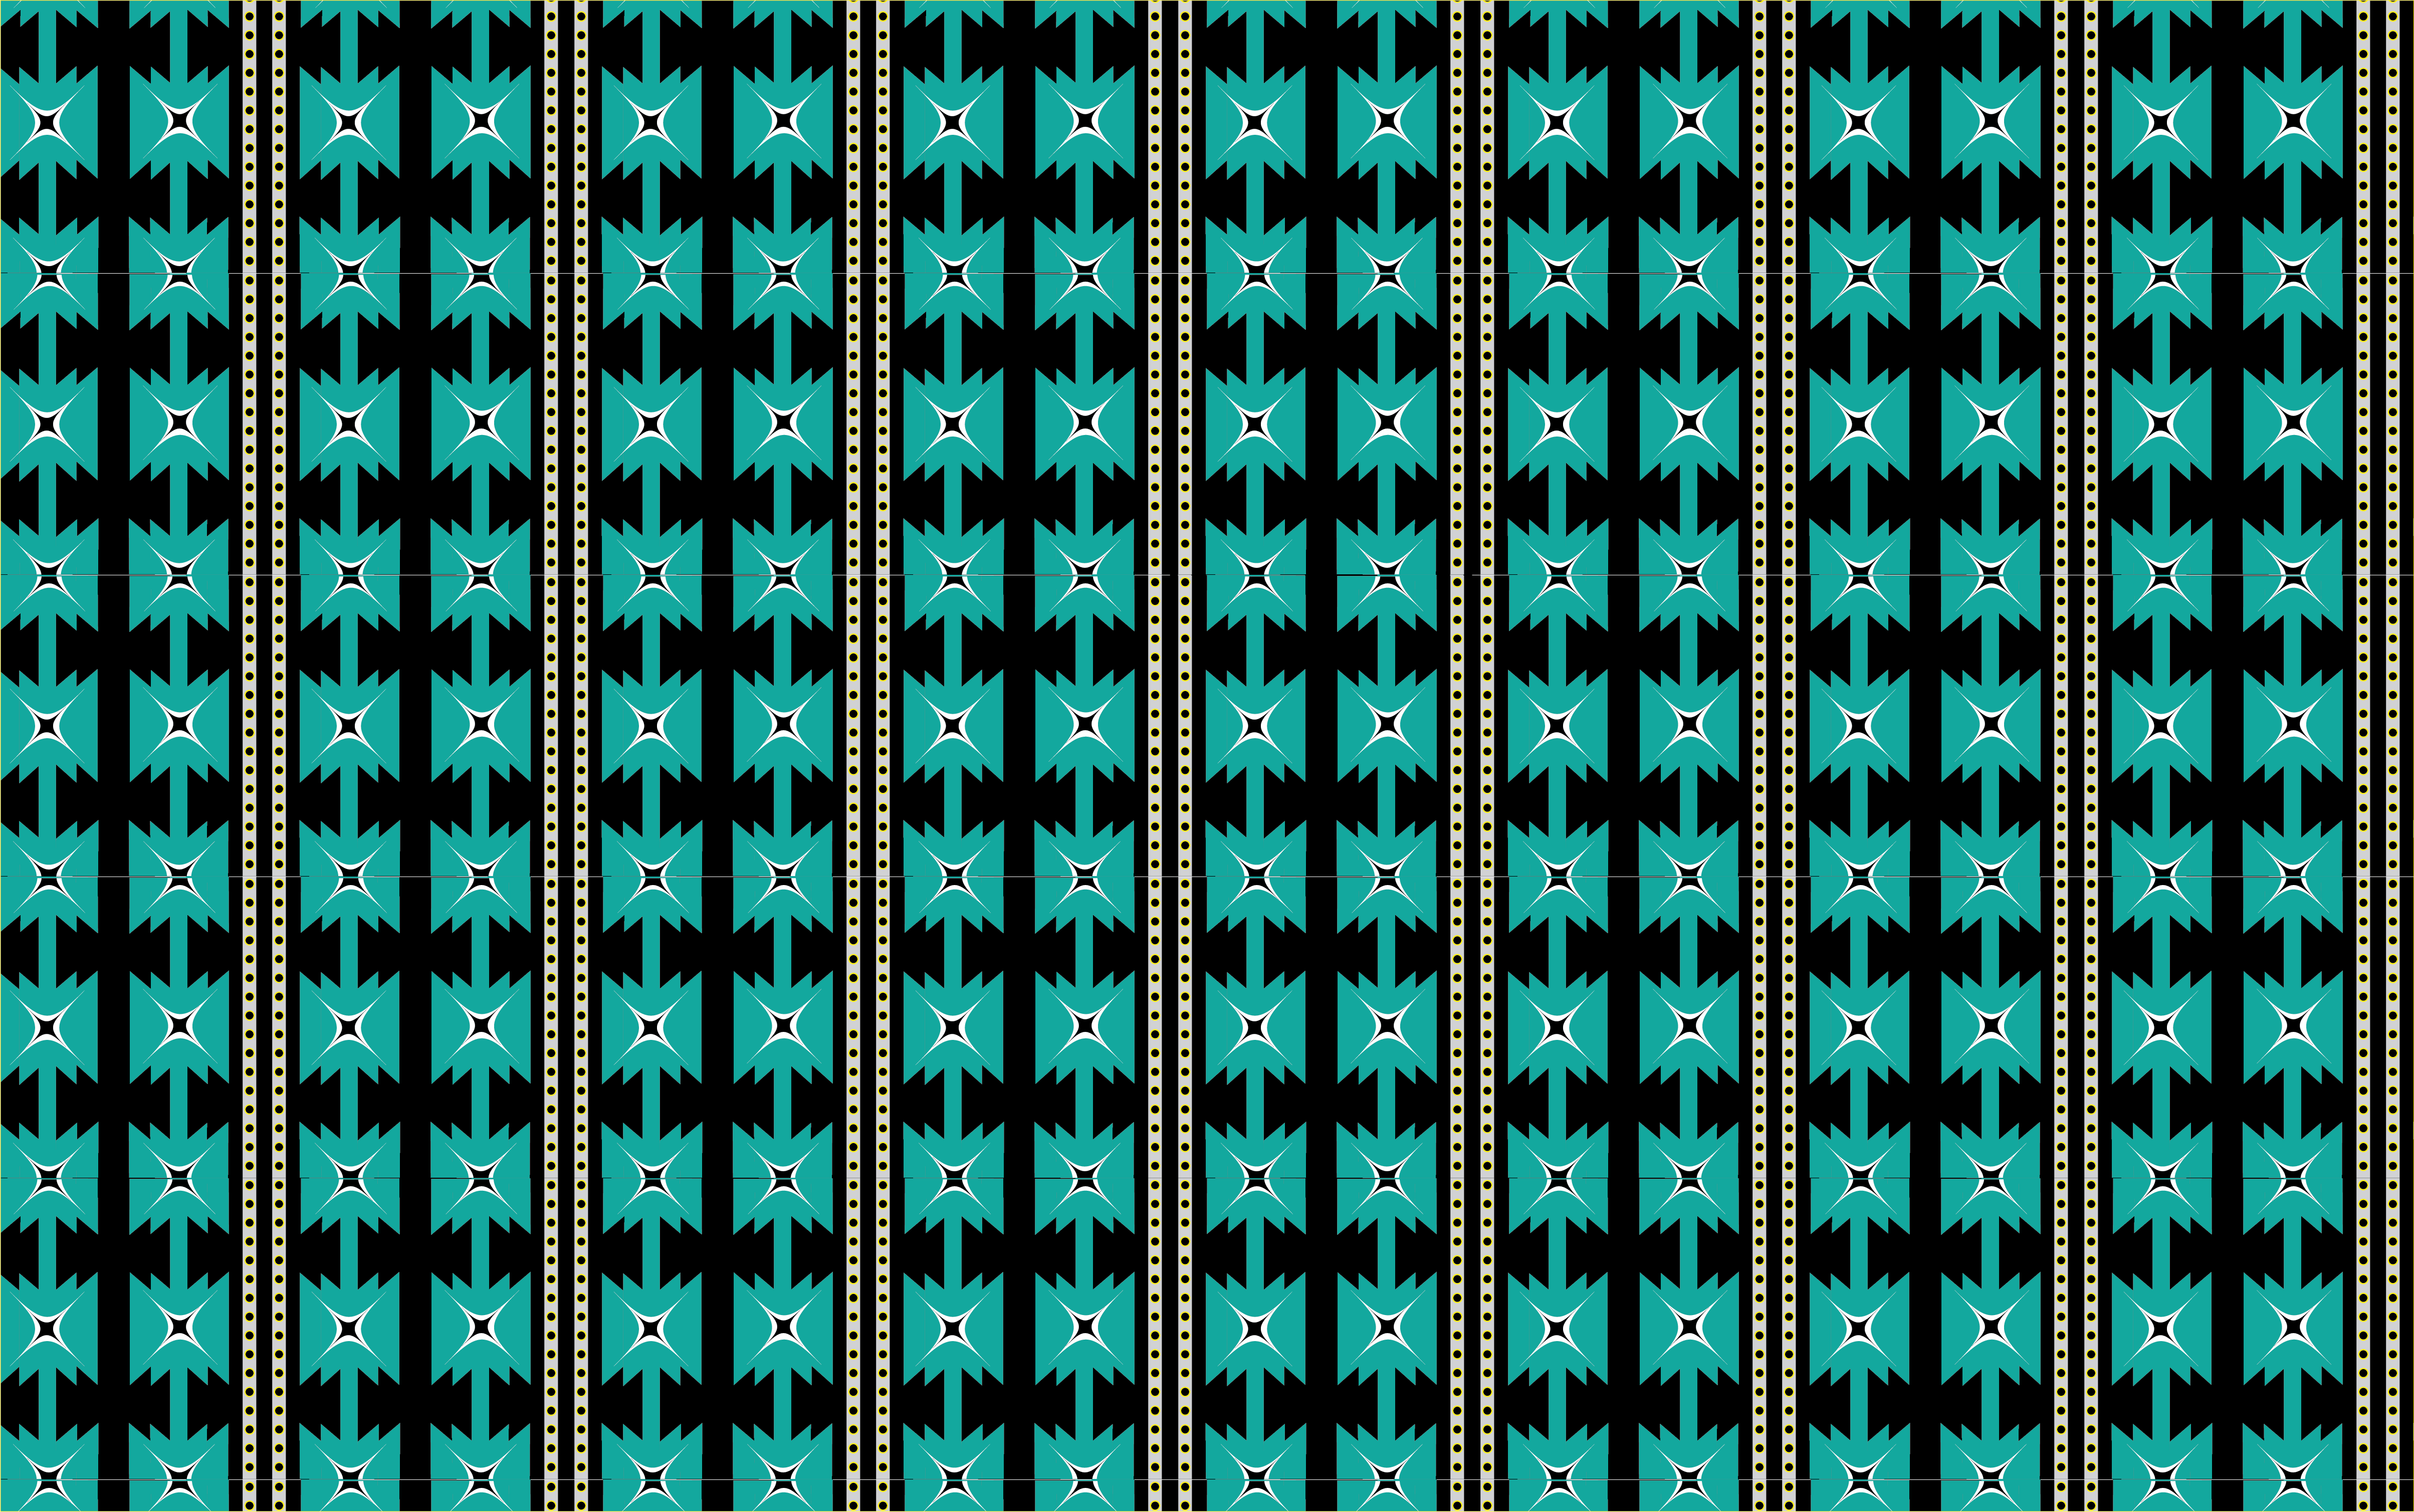
Hey fam, we are back with a new tutorial on how to make prints on illustrator. The print trend we’re gonna talk about here is “Nordic nights”. These prints are inspired bye the art of the Nordic countries also known as the Scandinavian prints and patterns. To learn how to make one, given below is a link of the video on the tutorial and also the steps are mentioned below it.
> Take a canvas of 2”/2”
> Then make a rectangle and duplicate it.
> Now make a rectangle in the middle as shown and edit the nodes using direct selection tool.
> Now copy the edited shape and paste as shown.
> Select both of them and duplicate them as shown.
> Repeat the same for each area as done in the tutorial.
> Now make a rectangle onn left side of the artBoard.
> Make circle inside the rectangle and transform as shown. ( Effect—> distort and transform —> transform)
> Then duplicate the rectangle with the circle in it.
> Now make a square and add the pucker effect. ( Effect —> Distort & Transform—> Pucker & Bloat).
> Then edit the crystal by using shape builder tool.
> Now make a square for background and arrange it at the back.
> Then select them all and make the pattern (Object —> Pattern —> Make —> Done).
> The pattern is ready. Make a square or rectangle and insert the pattern from fill tool.
AND THE PRINT IS READY !!
If you have any queries, do write them down in the comment section, we’ll surely solve them. For more updates on fashion, style and trends, subscribe to our website. Till then stay safe! Toodles ~


